No Cook Peppermint Play Dough

No Cook Peppermint Play Dough

home activities recipes

In the past I’ve shared a play dough recipe that I also love, but it required cooking over the stove and I found that Ariana couldn’t really engage in the process as much. This time, we modified a “no cook” recipe and we were able to work together more. We counted and measured out the ingredients, she mixed, and even when I mixed in the boiling water, she could sit next to me and watch. For that reason, I slightly prefer this “no cook” recipe.

Give it a try and let me know what you think! 🙂


Ingredients:

2 cups of all purpose flour

1 cup salt

3 cups of cream of tartar

2 tbsp of veg oil

1.5 – 2 cups of boiling water

*optional peppermint oil

*if you prefer pumpkin spice, add pumpkin spice

*optional food coloring


Directions:

Mix all dry ingredients. Add veg oil. Add boiling water. Mix with a large spoon. Let it sit for a few minutes. When sufficiently cool, start kneading. Enjoy the process. It is therapeutic.

You can add food coloring before or after kneading the dough.


⋒ Homemade Pumpkin Spice Play Dough Recipe ⋒

⋒ Homemade Pumpkin Spice Play Dough Recipe ⋒

creative play home activities recipes

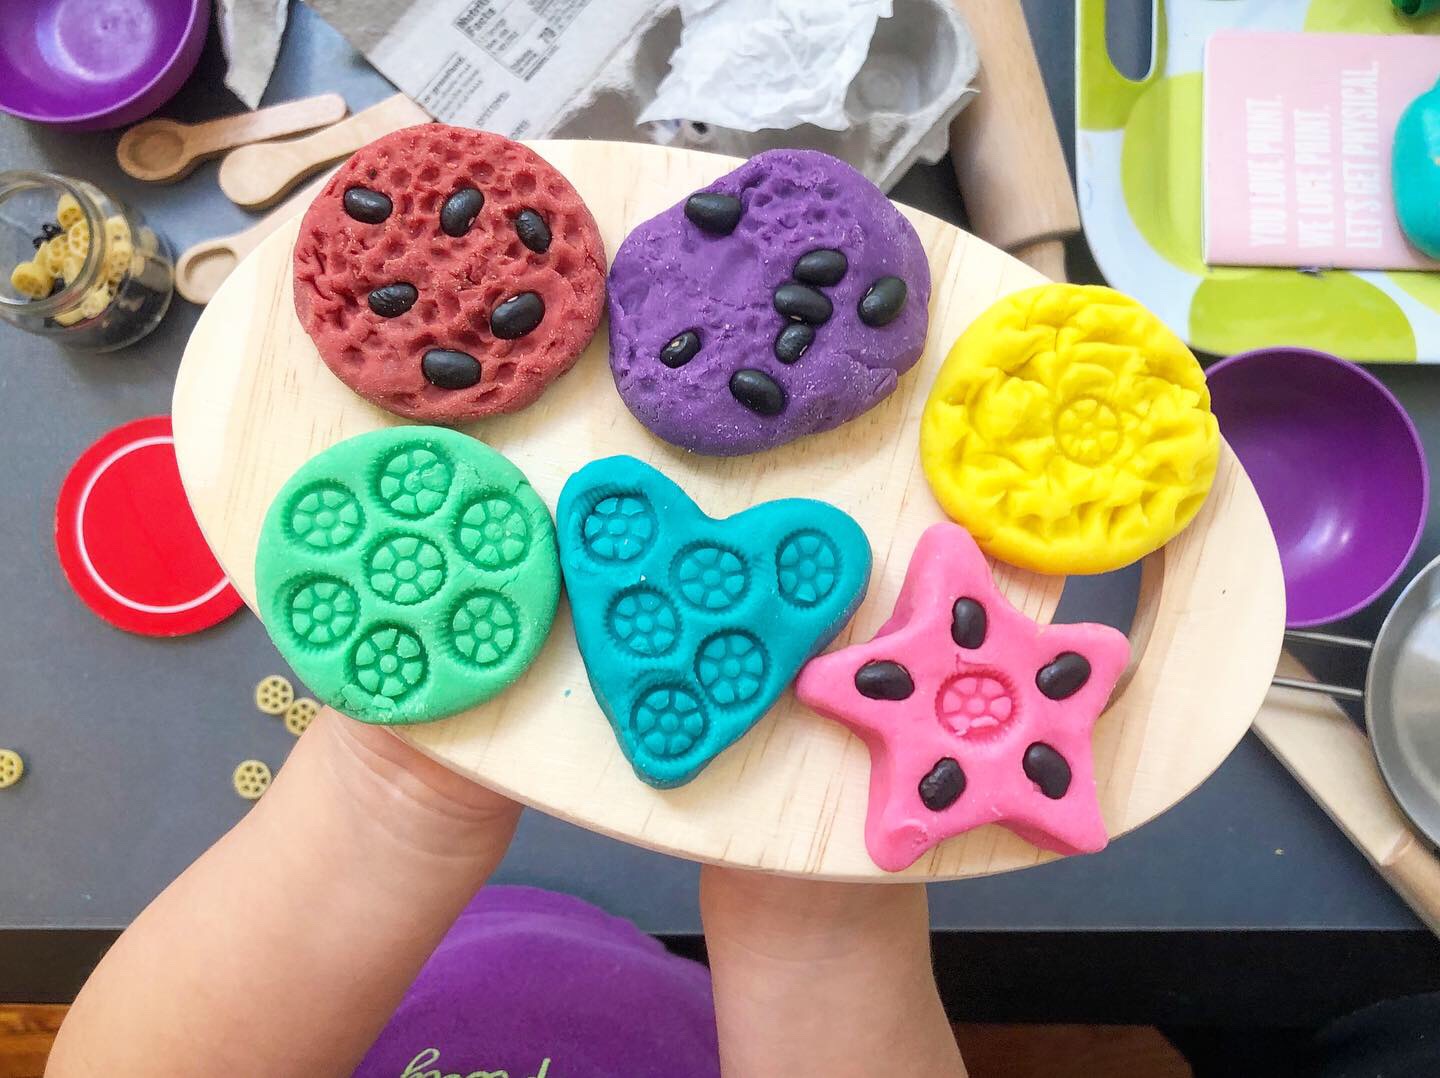
Play Dough has become a huge part of our sensory experience at home and at the studio for our toddler Music + Art Labs. It’s a great way to keep little artists engaged on our weekly theme after their main art projects are completed . I tweaked a play dough recipe I found online and added pumpkin spice for enhanced sensory experience for our New England families who are largely Autumn Leaf Peeping, Sweater Weather loving, Pumpkin Spice adoring humans. Am I right? We have successfully used food coloring to further enhance the sensory play but also we just love a good old mound of un colored dough to knead, cut, roll, and play with. Pictured, we have our colored doughs and we’re using different beans, pastas, beads, kitchen toy tools, to take the play to many different levels. It’s a wonderful way to work on motor skills and let the imagination soar.

Here is the recipe! For the parents out there who are going to try this recipe out, tag us on instagram or Facebook – let us know if you made any modifications. Also, take five minutes and just enjoy the kneading process. Its therapeutic. I absolutely love it!


⋒ HOMEMADE PUMPKIN SPICE PLAY DOUGH ⋒

4 cups all purpose flour

1 1/2 cups of salt

8 teaspoons of Cream of Tartar

4 cups of lukewarm water

4 tablespoons of veg oil

1 tablespoon (or a little more) Pumpkin Spice Seasoning

*optional food coloring and/or glitter


Directions:

Stir flour, salt, and cream of tartar in a large pot

Add water and oil.

Cook over medium/low heat, stir constantly until dough is thick and forms a ball. (This can be quite a workout for the arms once it starts to thicken up)

Remove from heat and place on wax paper or cutting board

To add colors, separate into chunks and add a few drops of food coloring. you can use plastic bags here but I find it hard to knead that way. So, use a pair of disposable gloves to spare my hands from the stains.

Knead dough. If there is a lot of cracking of the dough feels over cooked, you can fill a bowl of water and wet your hands as you knead the dough to work in some moisture.

*Stores for 3 months

*Super Pro tip: After playing with the dough, roll into a ball to maintain supple texture. If you notice it is getting dry or flaky, just wet your hands a little and knead some moisture back into the dough before storing.


Happy Creative Play, friends! ⋒


Homemade Strawberry Banana Popsicles… 😋

Homemade Strawberry Banana Popsicles… 😋

creative play home activities recipes

For a little kid (and the kid within us all) nothing really beats a delicious frozen popsicle on a sweltering, hot day. Am I right? In our family, we try our best to limit our “added sugar” and artificial ingredient intake and sometimes that means witnessing the wistful eyes of our toddler when she sees other kids enjoying brightly colored and lovely looking sugar cookies, candy, and colorful bomb pops.

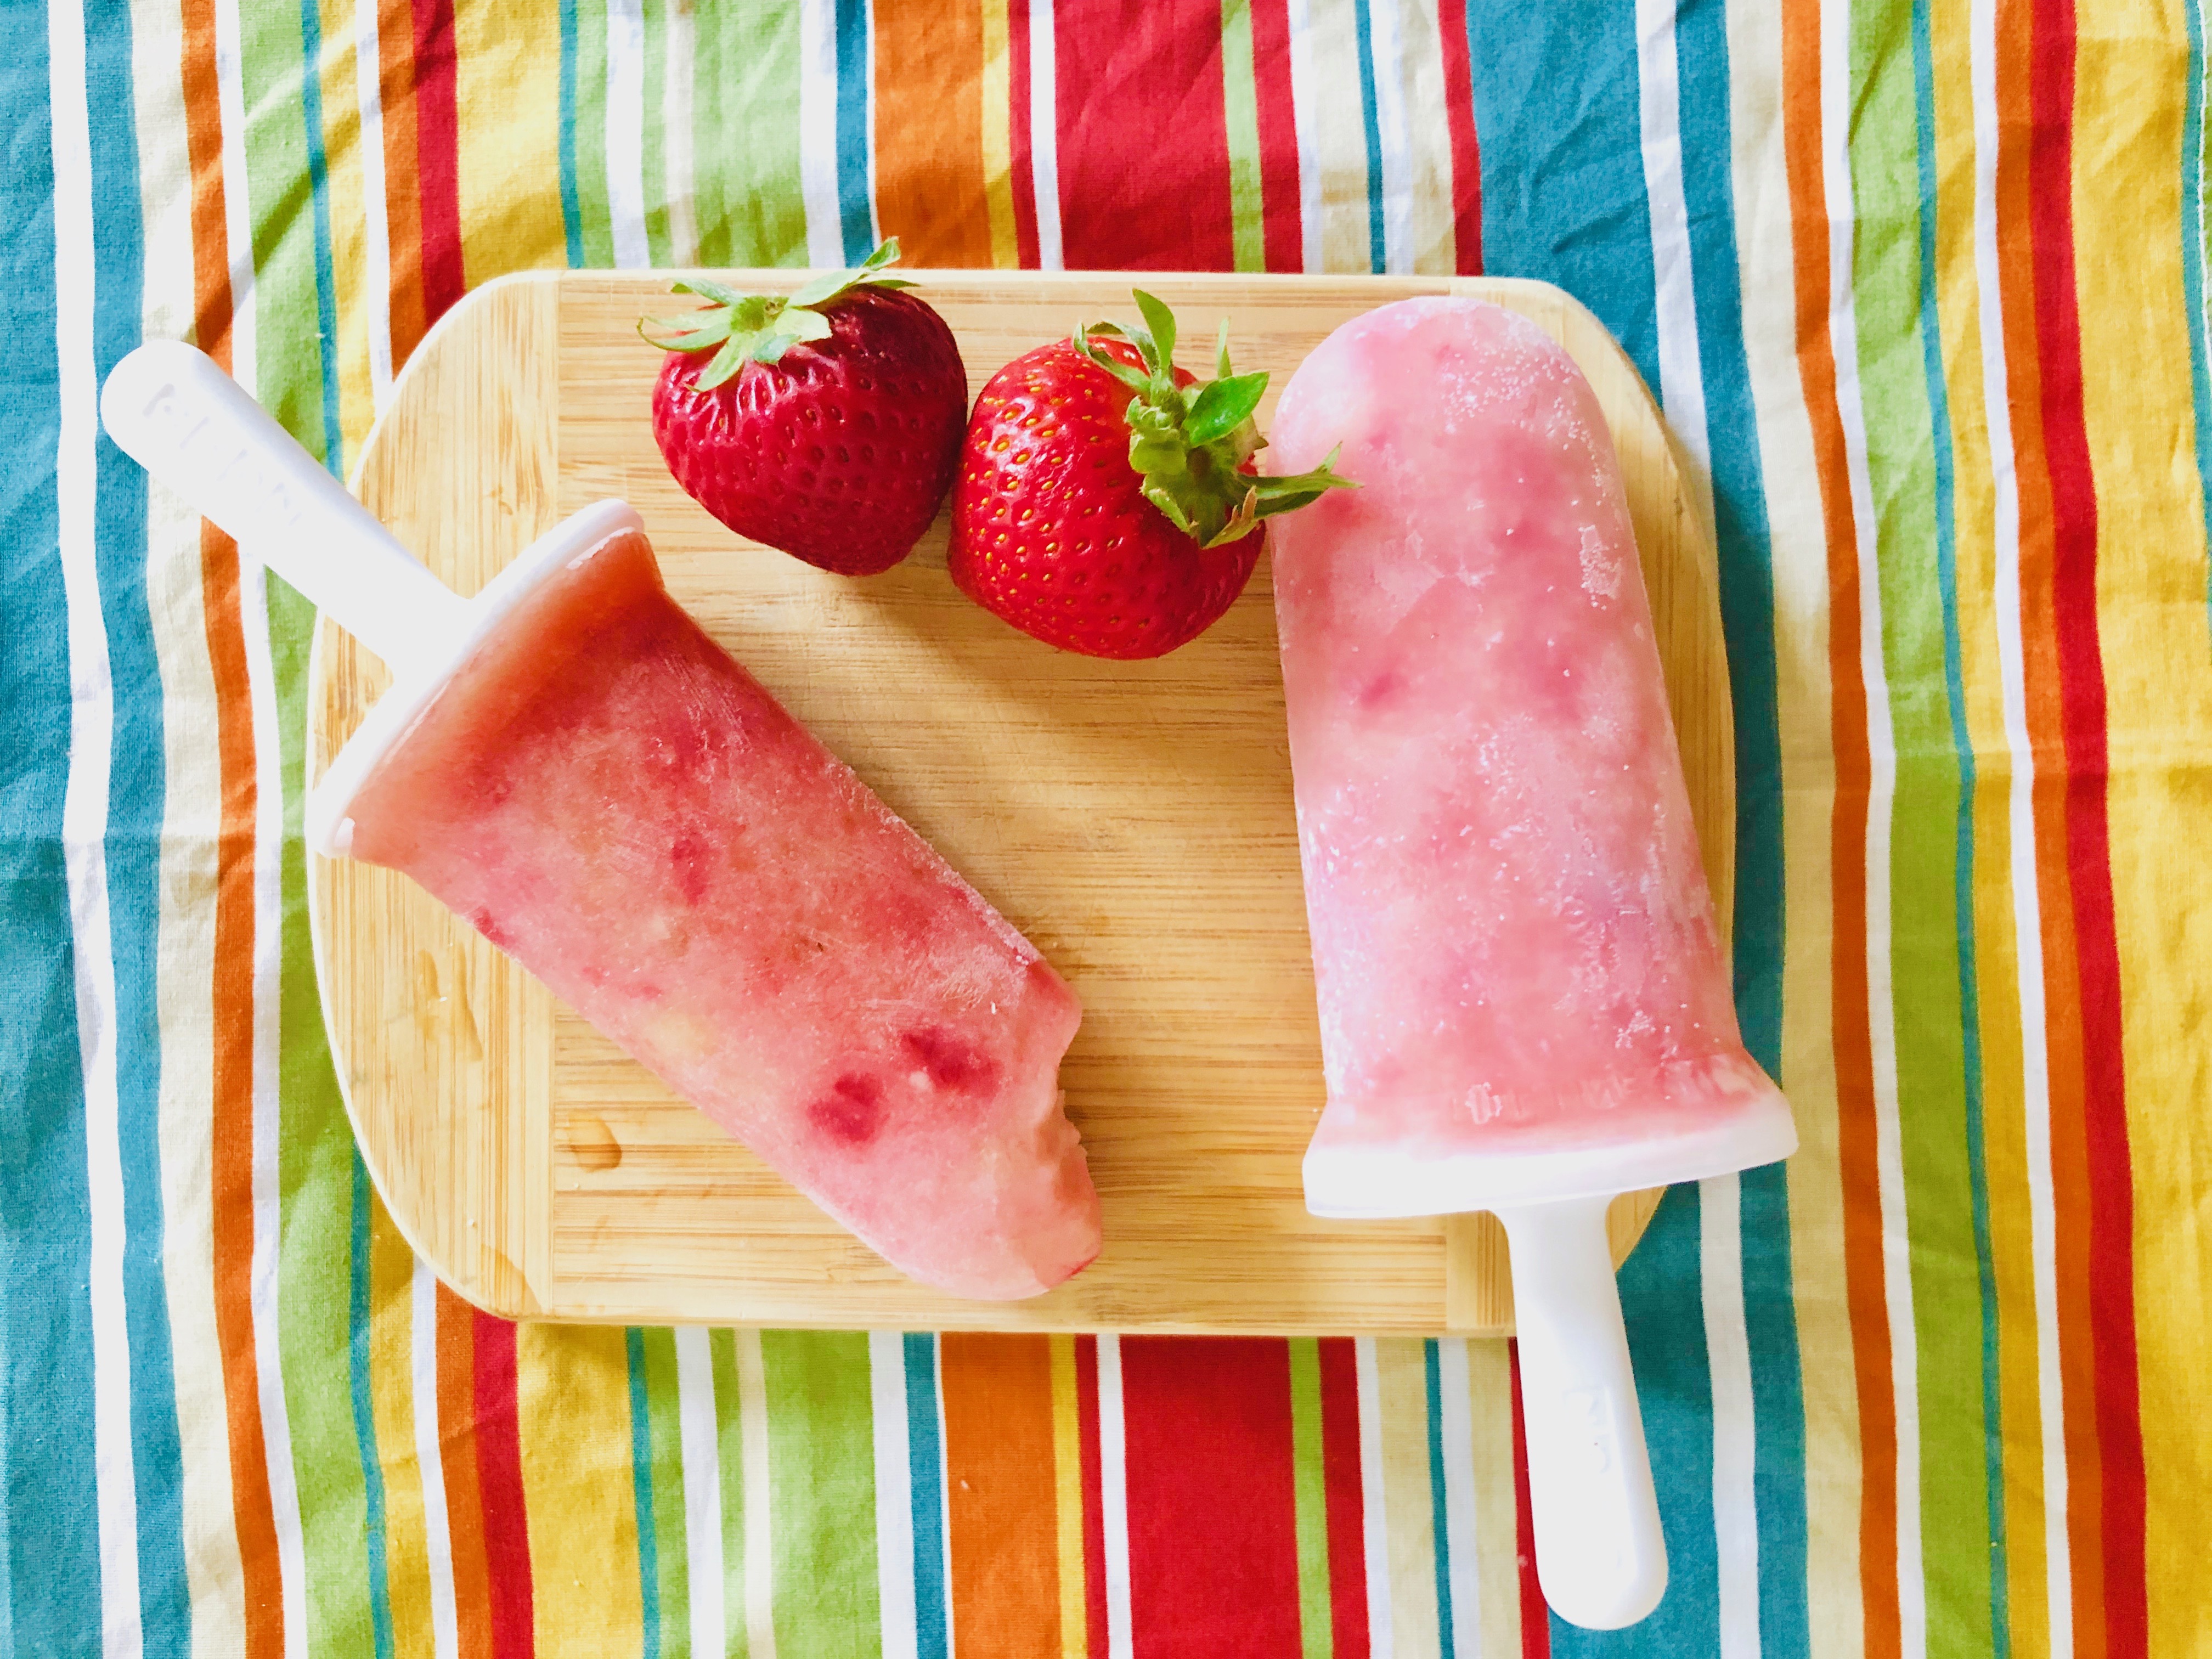
So, this summer, we’ve ventured into making popsicles at home… and we are all loving it. This is a fun kitchen activity we can do together, and the whole family partakes in the treats. Here’s a basic recipe that makes six 3-ounce popsicles. We’ve tried a bunch of flavors but this one is our favorite so far.


⋒ Strawberry Banana Popsicles ⋒

2 bananas (3 if your kid is a banana monster like ours)

6 strawberries

1 cup of almond milk (any milk)

Honey (to taste)

Vanilla (tiny dash) *optional

Muddler – You can blend as well, but we like the chunks of fruit so we use a muddler, a fork works as well.

Popsicle Mold – We loved the Zoku Classic Popsicle mold that we purchased on amazon but there are tons of fun characters and shapes out there to try.


Simple Steps: so simple a kid can do it… 

Just muddle/fork/squash/blend the fruits together. The juicy strawberries do get on clothes so don’t wear white (I may or may not be speaking from experience 🤦🏻‍♀️).

Add honey (a little will do if the fruit is sweet) and a dash of vanilla. Stir in almond milk.

Pour into the molds and prepare to answer the question “Are they ready yet” for the rest of the waking hours of the day.